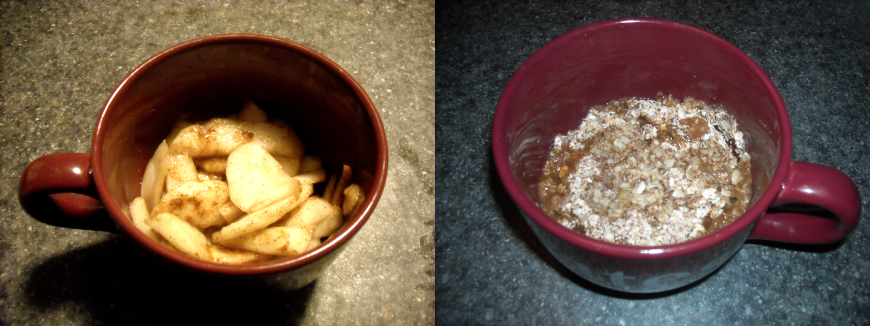
I love mug cooking, but with the exception of macaroni and cheese, I can’t find many savory recipes. Most of them are great for breakfast (Blueberry Muffin in a Mug) or dessert (Minute Brownie in a Mug), but not for dinner. I started hunting for a microwave recipe for chicken pot pie, but apparently no one has been quite that brave. Even after broadening the search to any single-serving microwave pie, I still came up empty handed. The few that called themselves “pie” were actually little more than fruit with some oatmeal crumb topping.
I knew that it had to be possible. Connie Stewart finally gave me the information I needed to figure it out. I have to admit that this isn’t a true microwave recipe because I finished mine up in the oven to get the golden brown color I’m used to seeing on a crust. However, that’s not absolutely necessary and it tastes great either way.

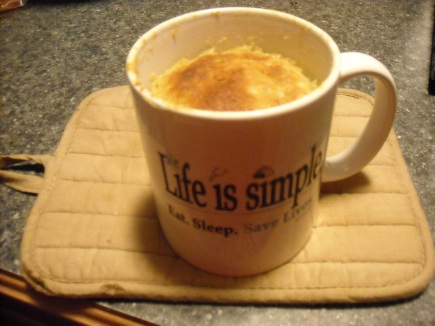
It works! Homemade chicken pot pie can be made in the microwave!
I’ve been making white sauce on the stove since I was knee high to a grasshopper, but I wanted to make this as simple as possible so every part of the recipe can be made in the microwave. I used leftover chicken and frozen vegetables to speed the process, but you could cook chicken in the microwave while you dice up fresh vegetables and prepare the rest of your ingredients. The recipe includes the crust, white sauce, and filling. It may seem a bit overwhelming at first, but it really comes together quickly.
Ingredients:
Crust:
1/2 cups flour
1/8 teaspoon salt
4 Tbsp unsalted butter (1/2 stick), cut in pieces
scant less than 2 Tbsp ice cold water
In a small bowl, stir together flour and salt. Add in cut butter. Work the butter through your fingers, massaging it until the mixture resembles coarse crumbs with pieces no larger than the size of small peas. Drizzle ICE COLD water over the flour butter mixture and swirl the bowl around until the water is coating everything. Gather the dough together and press it into a rough ball, don’t really knead it, just gather and flatten once or twice. It’s easy to overwork the dough at this stage because it is very crumbly and seems like it can’t be right. Trust me, it works; don’t gather and flatten it more than 2 times.
Flour your board or counter and dump the dough onto it. Cover with a sheet of parchment paper and let it sit for 10 minutes. If you’re kitchen is warm you may want to let it do the sitting in the fridge.
While the dough is chilling, make the white sauce and assemble the filling.
 White Sauce:
1 Tbsp butter, melted
1 Tbsp all-purpose flour
1/2 Cup milk
Salt and pepper, to taste
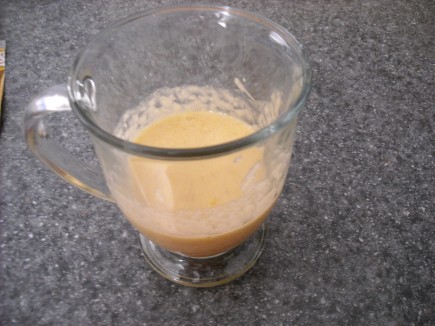
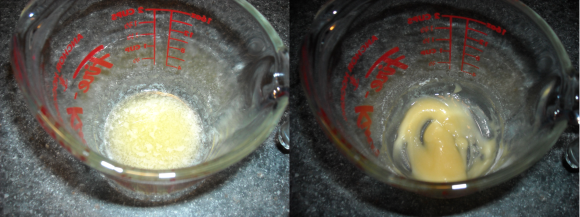
Melt the butter in a microwave safe 1 quart bowl on high for 15 to 30 seconds. Stir in the flour until blended and smooth. Stir in the milk, salt and pepper.
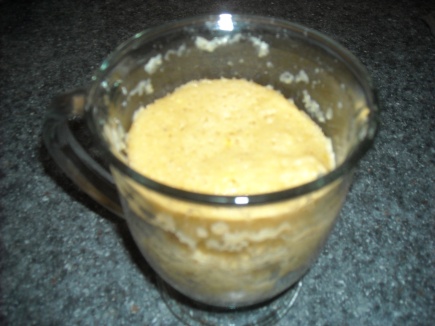
Microwave on high for about 2 minutes. Stir and microwave on high for 1 to 2 minutes more or until thickened.
Filling:
1/2-2/3 Cup diced mixed vegetables, fresh or frozen
1/2 Cup cooked chicken (may substitute canned, drained)
1/2 Cup prepared white sauce
Place the vegetables in a microwave safe bowl with just enough water to cover the bottom, and microwave on high for 2-3 minutes. Drain the vegetables.
Combine the vegetables, chicken, and white sauce, and set aside.
 To roll out the dough: keep the parchment paper on the dough and roll or press the dough into a rough rectangle. There are going to be bits and pieces of dough falling everywhere-its ok, just stick them back in and keep on doing your thing. Fold over one side of the dough into the middle like a letter . Cover with parchment again and press back into a rectangle. Repeat this with all four sides, folding in and rolling out-you don’t need to roll out a lot just enough to make the whole thing look like a rectangle again. By the last fold your dough will come together and look like something you can work with. Then roll it out to 1/4 inch thickness. For more help with the crust, check out the pictures at The Purple Spoon.
If you plan to brown your crust in the oven, preheat it now to 350°.
 Use your container (I used a ramekin) to cut out a circle for the bottom and top. Place the bottom in the ramekin, then use the remaining pieces to fill in the sides. It doesn’t have to be perfect, just make sure it’s all covered. Prick the bottom and sides with a fork. Pour in the filling and cover with top crust. Pinch together the edges with a fork, and use a knife to cut several vent holes.
Microwave on high for 4-6 minutes until the top crust is dry to the touch. Place your pie in the oven and bake for 5-7 minutes, until the crust turns a light golden brown.
Allow to cool for 5 minutes and enjoy!
Method adapted from Fruit Pies made in the Microwave by Simply Simple Stamping.
Pie crust adapted from Perfect Pie Crust by The Purple Spoon.
White Sauce adapted from Microwave Basic White Sauce by JupiterLady63.